
xen-create-image 命令,这在很大程度上是自动执行任务的。唯一的必需参数 --hostname,指定 domU 的名称;其他选项也很重要,但它们可以存储在 /etc/xen-tools/xen-tools.conf 配置文件中,并且它们不在命令行中不会触发错误。因此,在创建映像之前检查此文件的内容,或在 xen-create-image 中使用额外的参数。需要注意的重要参数包括:
--memory,指定新创建系统的RAM大小;
--size 和 --swap,指定 domU 使用的“虚拟磁盘”的大小;
--debootstrap-cmd, to specify the which debootstrap command is used. The default is debootstrap if debootstrap and cdebootstrap are installed. In that case, the --dist option will also most often be used (with a distribution name such as bullseye).
--dhcp 指示 domU 的网络配置应该由 DHCP 获取,而 --ip 允许定义静态 IP 地址。
-dir 选项是为 domU 使用的每个设备在 dom0 上创建一个文件。对于使用 LVM 的系统,另一种选择是使用 --lvm选项,后跟卷组的名称; xen-create-image 在该组内创建新的逻辑卷,并将此逻辑卷作为硬盘提供给 domU。
#xen-create-image --hostname testxen --dhcp --dir /srv/testxen --size=2G --dist=bullseye --role=udevGeneral Information -------------------- Hostname : testxen Distribution : bullseye Mirror : http://deb.debian.org/debian Partitions : swap 512M (swap) / 2G (ext4) Image type : sparse Memory size : 256M Bootloader : pygrub [...] Logfile produced at: /var/log/xen-tools/testxen.log Installation Summary --------------------- Hostname : testxen Distribution : bullseye MAC Address : 00:16:3E:C2:07:EE IP Address(es) : dynamic SSH Fingerprint : SHA256:K+0QjpGzZOacLZ3jX4gBwp0mCESt5ceN5HCJZSKWS1A (DSA) SSH Fingerprint : SHA256:9PnovvGRuTw6dUcEVzzPKTITO0+3Ki1Gs7wu4ke+4co (ECDSA) SSH Fingerprint : SHA256:X5z84raKBajUkWBQA6MVuanV1OcV2YIeD0NoCLLo90k (ED25519) SSH Fingerprint : SHA256:VXu6l4tsrCoRsXOqAwvgt57sMRj2qArEbOzHeydvV34 (RSA) Root Password : FS7CUxsY3xkusv7EkbT9yae
vif*、veth*、peth* 和 xenbr0。Xen 虚拟机管理程序在用户空间工具的控制之下,以已定义的布局排列它们。由于 NAT 和路由模式仅适合特定情况,因此我们仅说明桥接模式。
xend daemon is configured to integrate virtual network interfaces into any pre-existing network bridge (with xenbr0 taking precedence if several such bridges exist). We must therefore set up a bridge in /etc/network/interfaces (which requires installing the bridge-utils package, which is why the xen-utils package recommends it) to replace the existing eth0 entry (be careful to use the correct network device name):
auto xenbr0
iface xenbr0 inet dhcp
    bridge_ports eth0
    bridge_maxwait 0
xl命令。此命令允许对域进行不同的操作,包括列出它们以及启动/停止它们。您可能需要通过从配置文件(在这种情况下是 /etc/xen/testxen.cfg)编辑内存变量来增加默认内存。在这里,我们已设置为 1024(兆字节)。
#xl listName ID Mem VCPUs State Time(s) Domain-0 0 3918 2 r----- 35.1 #xl create /etc/xen/testxen.cfgParsing config from /etc/xen/testxen.cfg #xl listName ID Mem VCPUs State Time(s) Domain-0 0 2757 2 r----- 45.2 testxen 3 1024 1 r----- 1.3
testxen domU 使用 RAM 中的实际内存,否则该内存将提供给 dom0,而不是模拟内存。因此,在构建用于承载 Xen 实例的服务器时,应注意相应地预配物理 RAM。
xl console 命令使用 hvc0 控制台:
#xl console testxen[...] Debian GNU/Linux 11 testxen hvc0 testxen login:
xl pause 命令暂停,然后使用 xl unpause 命令恢复。请注意,即使暂停的 domU 不使用任何处理器资源,其分配的内存仍在使用中。此外,xl save 和 xl restore 命令可能很有趣:保存 domU 使用的资源,包括 RAM。当恢复(或未停止),domU 甚至没有注意到任何时间的流逝。如果在 dom0 关闭时正在运行 domU,则打包的脚本会自动保存 domU,并在下次启动时还原它。这当然会涉及在休眠笔记本电脑时产生的不变便;如果 domU 挂起的时间过长,网络连接可能会过期。另外,Xen 到目前为止与 ACPI 电源管理的主要部分不兼容,这排除了挂起主机 (dom0) 系统的可能性。
shutdown 命令)或从 dom0 执行,也可以使用 xl shutdown 或 xl reboot 命令。
xl 的子命令都需要一个或多个参数,通常是 domU 名称。这些参数在 xl(1) 手册页中有详细描述。
init 进程开始的整个过程系列,结果集看起来非常像虚拟机。此类设置的官方名称是"容器"(因此 LXC 名称:LinuX Containers),但与 Xen 或 KVM 提供的"真实"虚拟机(如 Xen 或 KVM 提供的虚拟机)的一个相当重要的区别是,没有第二个内核;容器使用与主机系统完全相同的内核。这既有优点也有缺点:优点包括由于减少开销而具有出色的性能,以及内核对系统上运行的所有进程都有全局视野,因此,如果两个独立的内核要安排不同的任务集,调度效率会更高。其中最给您带来的不便是不能在容器中运行不同的内核(无论是不同的Linux版本还是完全不同的操作系统)。
/sys/fs/cgroup。由于 Debian 8 切换系统,也依赖于控制组,因此现在在启动时自动完成,无需进一步配置。
/etc/network/interfaces, moving the configuration for the physical interface (for instance, eth0 or enp1s0) to a bridge interface (usually br0), and configuring the link between them. For instance, if the network interface configuration file initially contains entries such as the following:
auto eth0
iface eth0 inet dhcp
auto br0
iface br0 inet dhcp
bridge-ports eth0eth0 以及为容器定义的接口。
/etc/network/interfaces文件变为:
# Interface eth0 is unchanged
auto eth0
iface eth0 inet dhcp

# Virtual interface
auto tap0
iface tap0 inet manual
    vde2-switch -t tap0

# Bridge for containers
auto br0
iface br0 inet static
    bridge-ports tap0
    address 10.0.0.1
    netmask 255.255.255.0
br0 查询。
#lxc-create -n testlxc -t debiandebootstrap is /usr/sbin/debootstrap Checking cache download in /var/cache/lxc/debian/rootfs-stable-amd64 ... Downloading debian minimal ... I: Retrieving Release I: Retrieving Release.gpg [...] Download complete. Copying rootfs to /var/lib/lxc/testlxc/rootfs... [...] #
/var/cache/lxc ,然后移动到目标目录。这允许更快地创建相同的容器,因为只需要复制。
-arch 选项,用于指定要安装的系统的体系结构和 --release 选项(如果您想要安装 Debian 的当前稳定版本以外的其他内容)。您还可以将 MIRROR 设置为指向本地 Debian 镜像。
lxcbr0, which by default is used by all newly created containers via /etc/lxc/default.conf and the lxc-net service:
lxc.net.0.type = veth
lxc.net.0.link = lxcbr0
lxc.net.0.flags = up
lxcbr0 bridge on the host. You will find these settings in the created container's configuration (/var/lib/lxc/testlxc/config), where also the device' MAC address will be specified in lxc.net.0.hwaddr. Should this last entry be missing or disabled, a random MAC address will be generated.
lxc.uts.name = testlxc
lxc-start --name=testlxc.
lxc-attach -n testlxc passwd if we want. We can login with:
#lxc-console -n testlxcConnected to tty 1 Type <Ctrl+a q> to exit the console, <Ctrl+a Ctrl+a> to enter Ctrl+a itself Debian GNU/Linux 11 testlxc tty1 testlxc login:rootPassword: Linux testlxc 5.10.0-11-amd64 #1 SMP Debian 5.10.92-1 (2022-01-18) x86_64 The programs included with the Debian GNU/Linux system are free software; the exact distribution terms for each program are described in the individual files in /usr/share/doc/*/copyright. Debian GNU/Linux comes with ABSOLUTELY NO WARRANTY, to the extent permitted by applicable law. Last login: Wed Mar 9 01:45:21 UTC 2022 on console root@testlxc:~#ps auxwfUSER PID %CPU %MEM VSZ RSS TTY STAT START TIME COMMAND root 1 0.0 0.2 18964 11464 ? Ss 01:36 0:00 /sbin/init root 45 0.0 0.2 31940 10396 ? Ss 01:37 0:00 /lib/systemd/systemd-journald root 71 0.0 0.1 99800 5724 ? Ssl 01:37 0:00 /sbin/dhclient -4 -v -i -pf /run/dhclient.eth0.pid [..] root 97 0.0 0.1 13276 6980 ? Ss 01:37 0:00 sshd: /usr/sbin/sshd -D [listener] 0 of 10-100 startups root 160 0.0 0.0 6276 3928 pts/0 Ss 01:46 0:00 /bin/login -p -- root 169 0.0 0.0 7100 3824 pts/0 S 01:51 0:00 \_ -bash root 172 0.0 0.0 9672 3348 pts/0 R+ 01:51 0:00 \_ ps auxwf root 164 0.0 0.0 5416 2128 pts/1 Ss+ 01:49 0:00 /sbin/agetty -o -p -- \u --noclear [...] root@testlxc:~#
/var/lib/lxc/testlxc/rootf)。我们可以用 Control+aq 退出控制台。
lxc-start starting using the --daemon option by default. We can interrupt the container with a command such as lxc-stop --name=testlxc.
lxc-autostart,启动 lxc.start.auto 选项设置为 1的容器)。使用 lxc.start.order 和 lxc.group 可以对启动顺序进行更细粒度的控制:默认情况下,初始化脚本首先启动 onboot 组的容器,然后启动不是任何组的容器。在这两种情况下,组中的顺序由 lxc.start.order 选项定义。
qemu-* 命令,不要担心:它仍然是关于 KVM 的。
/proc/cpuinfo 中列出的 CPU 标志中查找"vmx"或"svm"来验证是否具有此类处理器。
virt-manager is a graphical interface that uses libvirt to create and manage virtual machines.
apt-get install libvirt-clients libvirt-daemon-system qemu-kvm virtinst virt-manager virt-viewer 命令。libvirt-daemon-system 提供 libvirtd 守护程序,允许(可以远程)管理主机运行的虚拟机,并在主机启动时启动所需的 VM。libvirt-clients 提供了 virsh 命令行工具,允许控制 libvirtd 管理的计算机。
virt-install,允许从命令行创建虚拟机。最后,virt-viewer 允许访问 VM 的图形控制台。
eth0 物理接口和 br0 网桥,而前者连接到后者。
libvirtd where to store the disk images, unless the default location (/var/lib/libvirt/images/) is fine.
#mkdir /srv/kvm#virsh pool-create-as srv-kvm dir --target /srv/kvmPool srv-kvm created #
virt-install 最重要的选项。此命令在 libvirtd 中注册虚拟机及其参数,然后启动它,以便其安装可以继续。
#virt-install --connect qemu:///system--virt-type kvm
--name testkvm
--memory 2048
--disk /srv/kvm/testkvm.qcow,format=qcow2,size=10
--cdrom /srv/isos/debian-11.2.0-amd64-netinst.iso
--network bridge=virbr0
--graphics vnc
--os-type linux
--os-variant debiantesting
Starting install... Allocating 'testkvm.qcow'
| --connect 选项指定要使用的"虚拟机管理程序"。它的形式是包含虚拟化系统(xen://、qemu://、lxc://、openvz://、vbox:// 等)和托管 VM 的计算机(对于本地主机,这一点可能为空)的 URL。除此之外,在使用 QEMU/KVM 的情况下,每个用户可以管理使用授权的虚拟机,并且 URL 路径允许将"系统"计算机 (/system) 和其他计算机 (/session) 进行区分。
|
|
由于 KVM 的管理方式与 QEMU 相同,因此 -virt type kvm 允许指定使用 KVM,使 URL 看起来像 QEMU。
|
| --name 选项定义虚拟机的(唯一)名称。
|
| --memory 选项指定要为虚拟机分配的 RAM(MB)量。
|
| --disk 指定虚拟机硬盘的映像文件的位置;除非存在,否则将创建由 size 参数指定的大小(GB)的映像。format 参数选择存储映像文件的格式。默认格式(qcow2) 的大小仅在虚拟机实际使用空间时增长。
|
|
The --cdrom option is used to indicate where to find the optical disk to use for installation. The path can be either a local path for an ISO file, an URL where the file can be obtained, or the device file of a physical CD-ROM drive (i.e. /dev/cdrom).
|
|
The --network specifies how the virtual network card integrates in the host's network configuration. The default behavior (which we explicitly forced in our example) is to integrate it into any pre-existing network bridge. If no such bridge exists, the virtual machine will only reach the physical network through NAT, so it gets an address in a private subnet range (192.168.122.0/24).
The default network configuration, which contains the definition for a virbr0 bridge interface, can be edited using virsh net-edit default and started via virsh net-start default if not already done automatically during system start.
|
| --graphics vnc states that the graphical console should be made available using VNC. The default behavior for the associated VNC server is to only listen on the local interface; if the VNC client is to be run on a different host, establishing the connection will require setting up an SSH tunnel (see 第 9.2.1.4 节 “通过端口转发建立加密通道”). Alternatively, --graphics vnc,listen=0.0.0.0 can be used so that the VNC server is accessible from all interfaces; note that if you do that, you really should design your firewall accordingly.
|
|
The --os-type and --os-variant options allow optimizing a few parameters of the virtual machine, based on some of the known features of the operating system mentioned there.
The full list of OS types can be shown using the osinfo-query os command from the libosinfo-bin package.
|
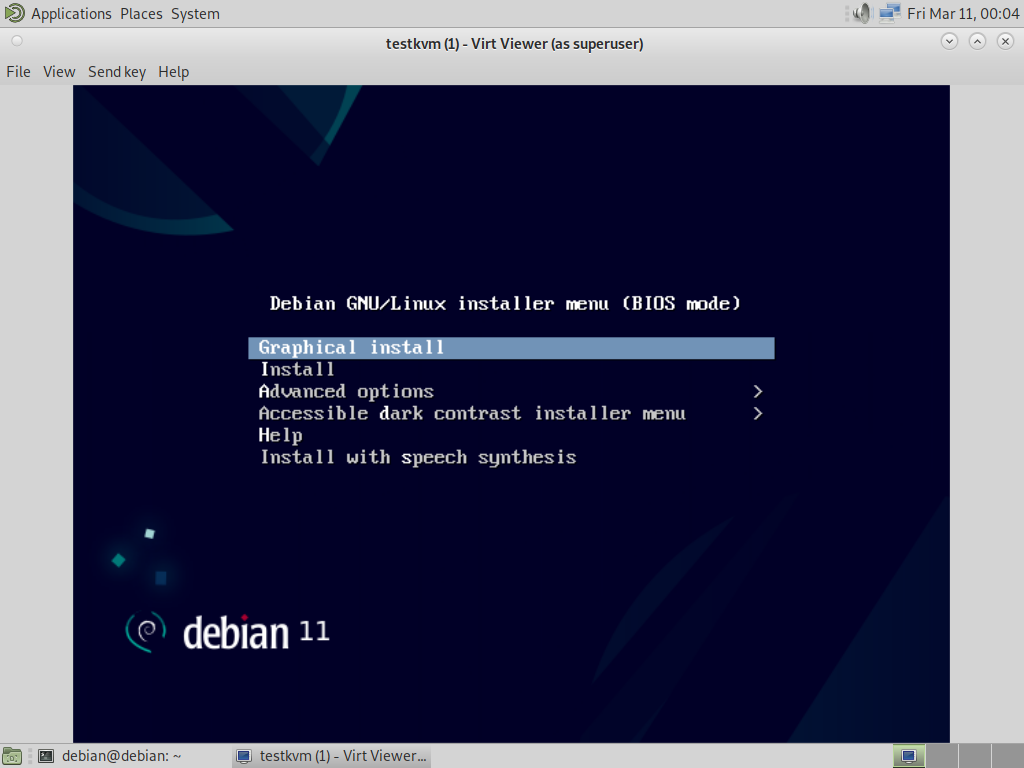
virt-viewer can be run from any graphical environment to open the graphical console (note that the root password of the remote host is asked twice because the operation requires 2 SSH connections):
$virt-viewer --connect qemu+ssh://root@server/system testkvmroot@server's password: root@server's password:
libvirtd 索取它所管理的虚拟机列表:
#virsh -c qemu:///system list --all Id Name State ---------------------------------- 8 testkvm shut off
#virsh -c qemu:///system start testkvmDomain testkvm started
vncviewer):
#virsh -c qemu:///system vncdisplay testkvm127.0.0.1:0
virsh 子命令包括:
reboot 重启一个虚拟机;
shutdown to trigger a clean shutdown;
destroy, to stop it brutally;
suspend to pause it;
resume to unpause it;
autostart to enable (or disable, with the --disable option) starting the virtual machine automatically when the host starts;
undefine to remove all traces of the virtual machine from libvirtd.